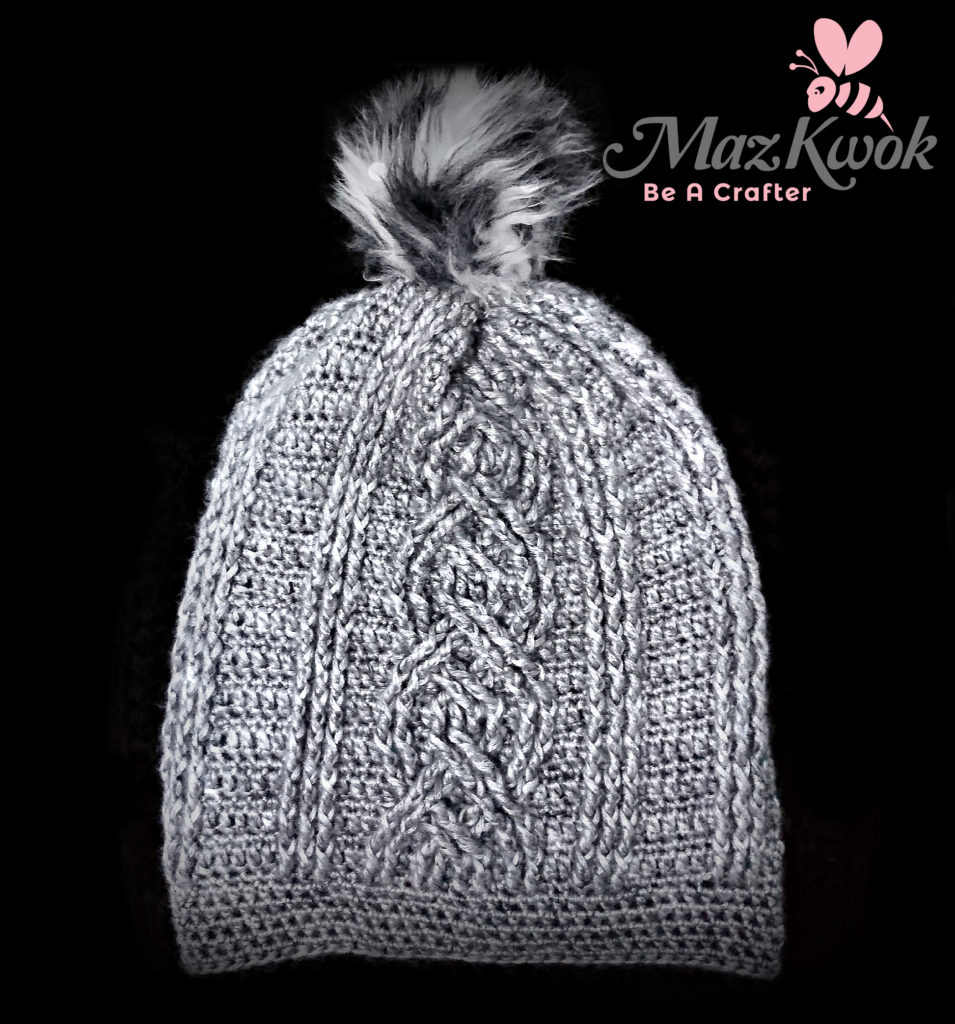
The slouchy hat season is coming! And a textured beanie designed with cable crochet stitches would never out of style. Here’s my Eternal Cable Hat to match with the Eternal Cable Scarf.

Click here to <3 this pattern on Ravelry
Materials: ( I used )
5mm crochet hook
Worsted weight yarn: silver grey ( about 80 gr for the sample – adult size/ 50 gr or 125 yds per skein )
( Check out my Yarn shop – free worldwide shipping )
Faux fur pompom: White grey shades ( optional )
Yarn needle
Scissors
Note: I used chainless starting dc for every first dc of each row/ round instead of ch 3. There’s another good crochet technique to use is ch 2, dc into same stitch ( counted as 1st dc). In the pattern below you’ll see I simply state dc into 1st stitch for every first dc of each row/ round, so choose your best technique 🙂
Special stitch used:
2×2 fpdtr left cross: ( worked over 4 sts )
skip next 2 sts, fpdtr around each of next 2 sts 2 rows below, working in front of the fpdtr just made, fpdtr around each of 2 skipped sts 2 rows below.
2×2 fpdtr right cross: ( worked over 4 sts )
skip next 2 sts, fpdtr around each of next 2 sts 2 rows below, working behind of the fpdtr just made, fpdtr around each of 2 skipped sts 2 rows below.
2-1-2 fpdtr left cross: ( worked over 5 sts )
skip next 3 sts, fpdtr around each of next 2 sts 2 rows below, working behind fpdtr just made, sc in 3rd skipped st, working in front of fpdtr just made, fpdtr around each of first 2 skipped sts 2 rows below.
This crochet Eternal cable hat pattern fits 22 inches head circumference ( one size fits most ).
Skill level: Intermediate
Gauge: 8 double crochet stitches x 4 rows = approximately 2 inches ( with materials indicated )

Hat:
( work in rounds )
R1: Ch 78, sl in 1st ch to form round, hdc around, total 78 sts, sl into 1st stitch to join.
R2: dc around, total 78 sts, sl into 1st stitch to join.
R3: *5 sc in next 5 sts, 3 fptr around next 3 sts 2 rows below, 2 sc in next 2 sts, ( 2 fptr around next 2 sts 2 rows below, sc in next st ) x 3 times across, 2 fptr around next 2 sts 2 rows below, 2 sc in next 2 sts, 3 fptr around next 3 sts 2 rows below* repeat ** 3 times around, sl into 1st stitch to join.
R4: dc around, total 78 sts, sl into 1st stitch to join.
R5: *5 sc in next 5 sts, 3 fptr around next 3 sts 2 rows below, 3 sc in next 3 sts, ( fptr around previous st 2 rows below ) x 2 times, work 2-1-2 fpdtr left cross, skip next st, ( fptr around next st 2 rows below ) x 2 times, 3 sc in next 3 sts, 3 fptr around next 3 sts 2 rows below* repeat ** 3 times around, sl into 1st stitch to join.
R6: dc around, total 78 sts, sl into 1st stitch to join.
R7: *5 sc in next 5 sts, 3 fptr around next 3 sts 2 rows below, 3 sc in next 3 sts, 2×2 fpdtr right cross, sc in next st, 2×2 fpdtr left cross, 3 sc in next 3 sts, 3 fptr around next 3 sts 2 rows below* repeat ** 3 times around, sl into 1st stitch to join.
R8: dc around, total 78 sts, sl into 1st stitch to join.
R9: *5 sc in next 5 sts, 3 fptr around next 3 sts 2 rows below, 2 sc in next 2 sts, skip next st, ( fptr around next st 2 rows below ) x 2 times, sc in next st, work 2-1-2 fpdtr left cross, sc in next st, ( fptr around previous st 2 rows below ) x 2 times, 2 sc in next 2 sts, 3 fptr around next 3 sts 2 rows below* repeat ** 3 times around, sl into 1st stitch to join.
Repeat ( from R2 to R9 ) alternately, until you reach R35
R36 to R40: hdc around, total 78 sts, sl into 1st stitch to join.
( fasten off, weave in ends )
From the wrong side, sew close the top ( R1 )
Attach pompom on ( optional )
You can have the ad-free version with stitches diagram in this instant download pdf file on:
( There’s an itsy bitsy fee for it, thanks for your support )
Happy crocheting xD
Written pattern and photos copyright Maz Kwok 2018. Please do not repost, republish or sell the content or photos as your own. You can sell the items you made from this pattern as long as you use your pictures and give back proper credit. Please do share this pattern with others by link. For more info, visit my Copyright page.
- Stay in touch via my social media channels: Facebook, Pinterest, Twitter, Instagram or subscribe to my Newsletter.
- Use the green button at the bottom of this post to print or save a PDF file for personal use.
